PARTS OF AN AIR DISC BRAKE

1 Caliper Bridge 2 Retainer Bar 3 Pad Carrier 3a Pad Abutments 4 Long (fixed) Slide Pin
5 Short (floating) Slide Pin 6 Slide Pin Boot 7 Piston Boot 8 Caliper Housing
9 Brake Chamber Mounting Plate (Chamber Mount) 10 Torque Plate / Anchor Plate
Mounting surfaces are named by their reference to the rotor.
Axial – a mounting surface that is parallel to the rotor
Radial – a mounting surface that is perpendicular (90º) to the rotor

Calipers identified as Left or Right based on the location of their short or floating pin. In most cases, a left caliper will be used on the driver’s side of the vehicle. There are some exceptions where interference in the wheel well prevents this. Make sure you replace a left with a left and a right with a right.
Mounting Bolts Caliper mounting bolt dimensions come from two different measurements. The thread is decided by the pad carrier. The length is decided by the torque plate. If you have a sample bolt, make sure you match the length. If you do not, measure the thickness of the torque plate and select the correct bolt length based on the tables provided in this catalog. A bolt that is too short may not hold the brake in place. A bolt that is too long may run into the rotor and prevent it from turning. Calipers identified as Left or Right based on the location of their short or floating pin. In most cases, a left caliper will be used on the driver’s side of the vehicle. There are some exceptions where interference in the wheel well prevents this. Make sure you replace a left with a left and a right with a right.
How to use this catalog to find your caliper part #.
1. Measure the width of the brake pad. If you do not have a pad, measure the distance between the pad abutments. Turn to the page in the next section that corresponds to the pad length. Now compare by height and shape.
2. Once you have identified the pad, turn to the page indicated, and then compare your caliper with the images and measurements provided.
3. Once you have found the correct caliper, choose whether you need a left or a right caliper, based on where the short slide pin is located.
Visual Wear Indicator
If the indicator shows more than 75% wear, perform
wheels-off inspection.
Rotor
Visually inspect the rotor for signs of cracks,
deep grooves, blue marks and heat checking.
Air Chamber and Connection
Inspect the air chamber to verify that the air
chamber-to-caliper mounting nuts and air lines
are securely fastened and are not damaged.
Caliper Bolts
Visually inspect the caliper mounting
bolts and ensure all 6 bolts are present.
Adjuster Cover
Visually inspect for caliper adjuster cover.
If missing, replace with new cover.
Slide Pin Caps
Visually inspect the slide pin caps, if missing, further
inspection of the slide pins and bushings is needed.
Adjuster Inspection
Remove adjuster cover, de-adjust 1/4 turn with
10mm wrench. Leave 10mm wrench on adjuster,
apply brake one time. If wrench moves clockwise,
adjuster is working correctly. If wrench does not
move, caliper requires further inspection.
Leave words, your message replied in 24hours.
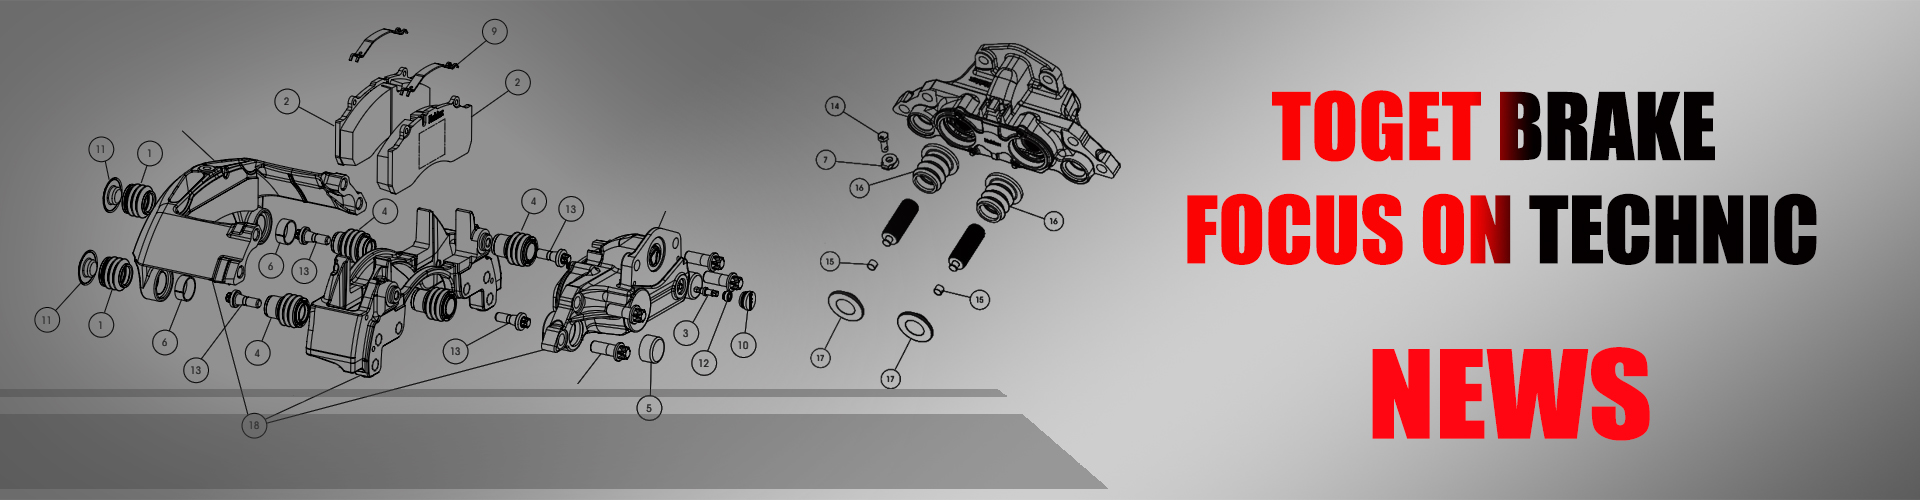
Toget Brake
Brand Vision:"to become the China leading supplier of active vehicle safety systems within the commercial vehicle industry."
At Toget, focus on air disc brake calipers technics, exceeding industry standards is a strict requirement.

Brand names, original numbers, vehicle mark and models are only for reference purposes.


